MySQL for Beginners (Part 1): A Step-by-Step Guide to Installing MySQL on Windows.

Welcome to the world of databases! If you’re just starting out and looking to get MySQL up and running on your Windows machine, you’ve come to the right place. This guide is tailored for beginners, and I’ll walk you through the steps of the installation process with clarity. Let's embark on this journey together and unlock the potential of MySQL!
Introduction to MySQL Installation
MySQL is a powerhouse in the realm of database management systems. It’s robust, reliable, and, best of all, free to use. Installing MySQL on Windows is a straightforward process, but it’s crucial to follow the steps carefully to ensure a successful setup.
Installation Outline
- Install MySQL
- Prerequisite Installation in Windows
- Download MySQL: Complete Steps in Detail
- Verify MySQL Installation
- Connect to MySQL Server using MySQL Workbench

1) Install MySQL:
Before diving into the installation, it’s essential to understand what MySQL is. MySQL is an open-source relational database management system (RDBMS) that uses Structured Query Language (SQL), the most popular language for adding, accessing, and managing content in a database.
2) Prerequisite Installation in Windows:
Before installing MySQL, ensure that your Windows system meets the necessary prerequisites. This includes having a compatible Windows version and ensuring that no previous versions of MySQL are installed that could cause conflicts.
3) Download MySQL: Complete Steps in Detail:
Downloading MySQL is a breeze. Head over to the official MySQL website and choose the version that suits your needs. The MySQL Installer for Windows simplifies the process, guiding you through the installation and configuration.

4) Verify MySQL Installation
After installation, it’s crucial to verify that MySQL is running correctly. You can do this by checking the MySQL service in the Windows Services Management Console to see if it’s running.

5) Connect to MySQL Server using MySQL Workbench
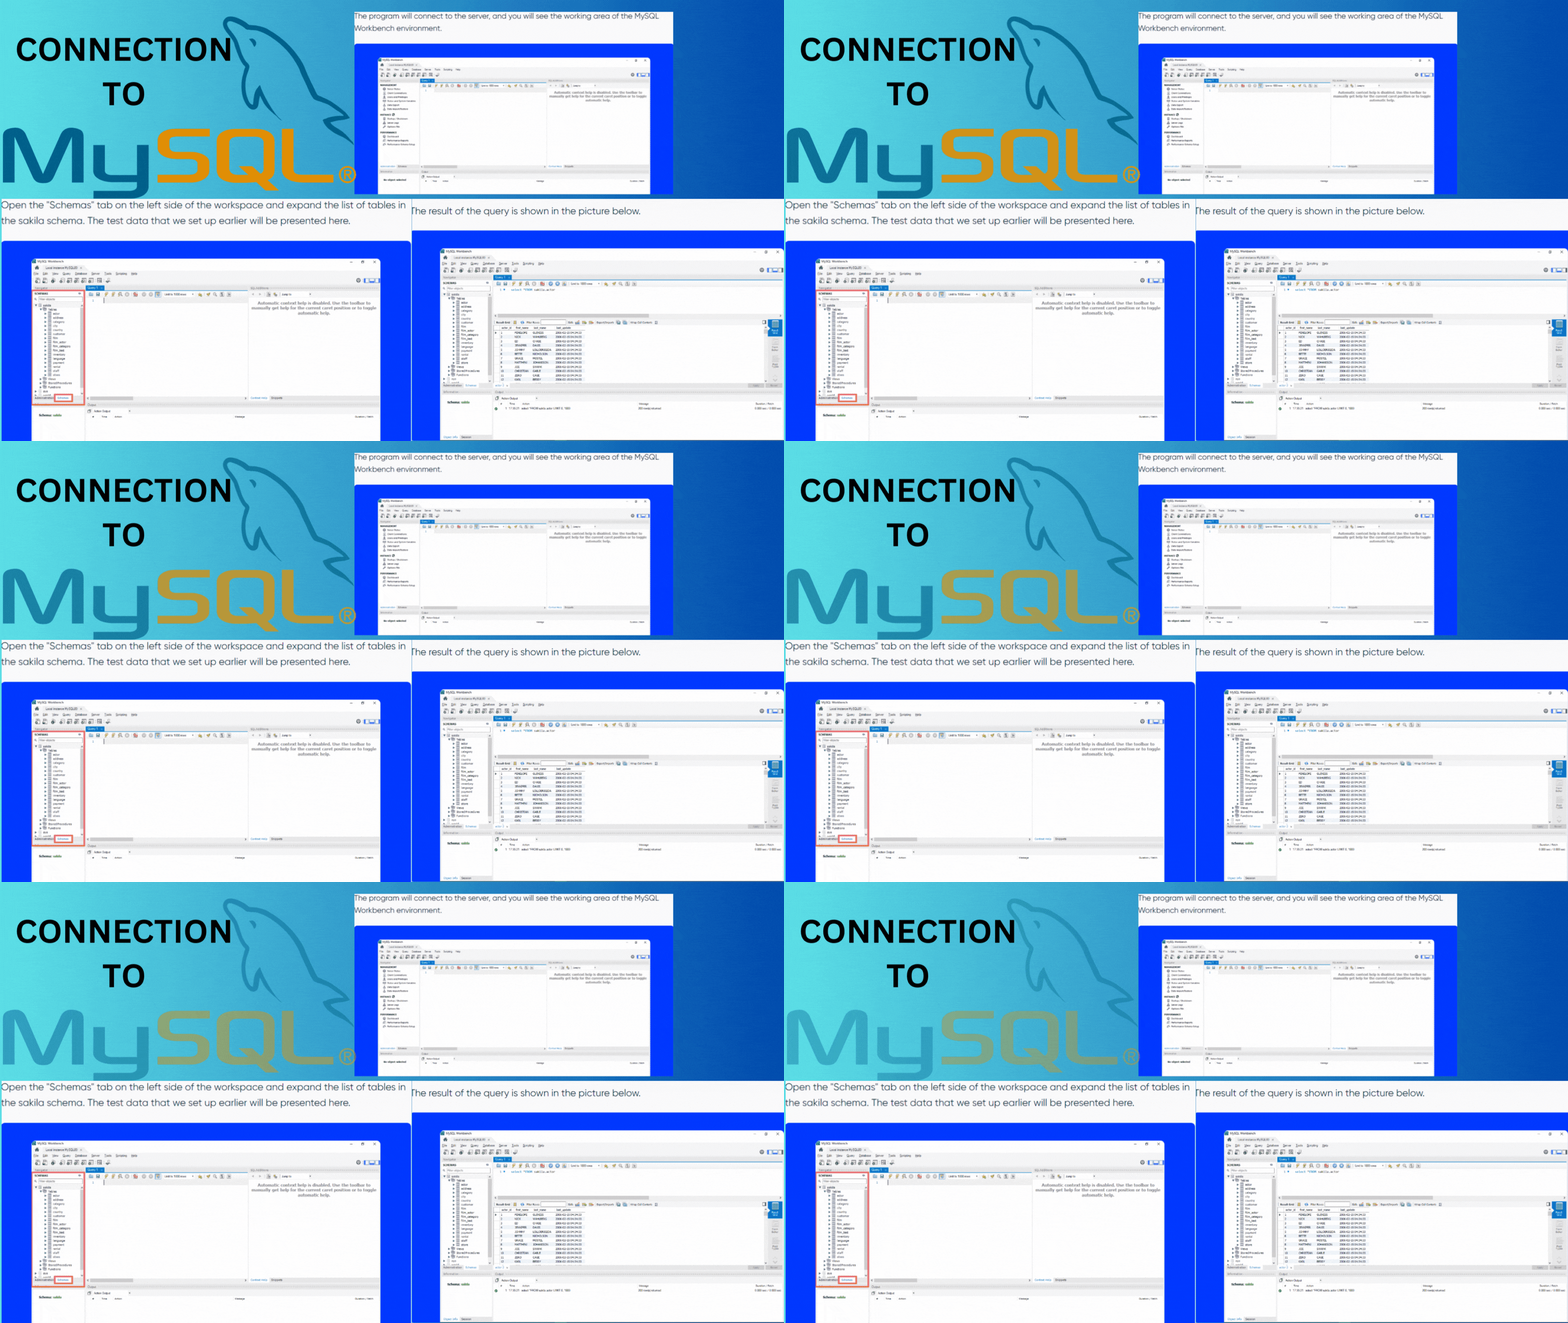
MySQL Workbench is a unified visual tool for database architects, developers, and DBAs. It provides data modeling, SQL development, and comprehensive administration tools. Connecting to your MySQL server through Workbench is the final step to starting to manage your databases.

More resources and references for MySQL Installation on Windows: Step-by-Step Guide are below the weblinks:

Conclusion :
We’ve covered the essential steps to get MySQL installed on your Windows machine. From understanding the prerequisites to downloading, installing, and verifying your installation, each step is crucial for a successful setup. We also discussed how to connect to your MySQL server using MySQL Workbench, setting you up for database management success.
This guide is just the beginning of your MySQL journey. Stay tuned for the next post in this series, where we’ll delve deeper into MySQL for beginners. Don’t forget to follow me on LinkedIn for updates and hit that clap 👋 button if you found this post helpful. For more resources, make sure to check out the MySQL Installation Guide.
“In learning, you will teach, and in teaching, you will learn.” — Phil Collins
Until next time, happy database building!
Comments
Post a Comment